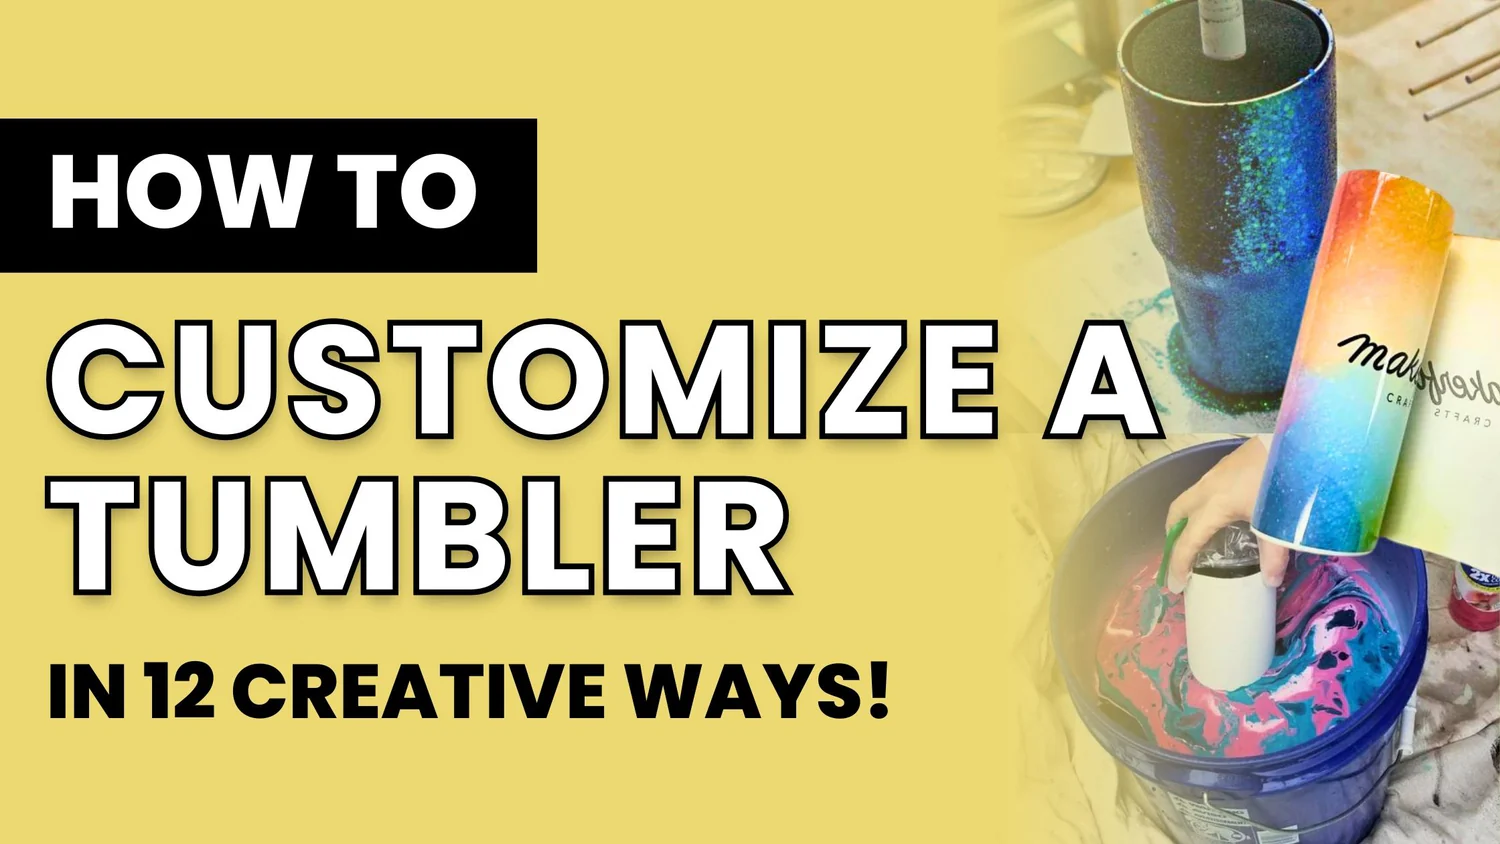
How to Customize a Tumbler: Step-by-Step Guide for Unique Designs
Looking for ways to personalize a tumbler to give as a gift or sell as a product? You’ve come to the right place!
We’ve been in the crafting world for many years and we LOVE talking about this subject. Not only have we done tons of crafting tutorials, but we also sell our own tumblers, supplies, and equipment and we host an online community where thousands of tumbler makers share their creations together.
All that to say, we’re kind of obsessed with tumbler DIY. 🤩
In writing this post, we of course included all of our favorite methods, like sublimation, epoxy, and laser engraving, but we also learned a few methods that were pretty new to us!
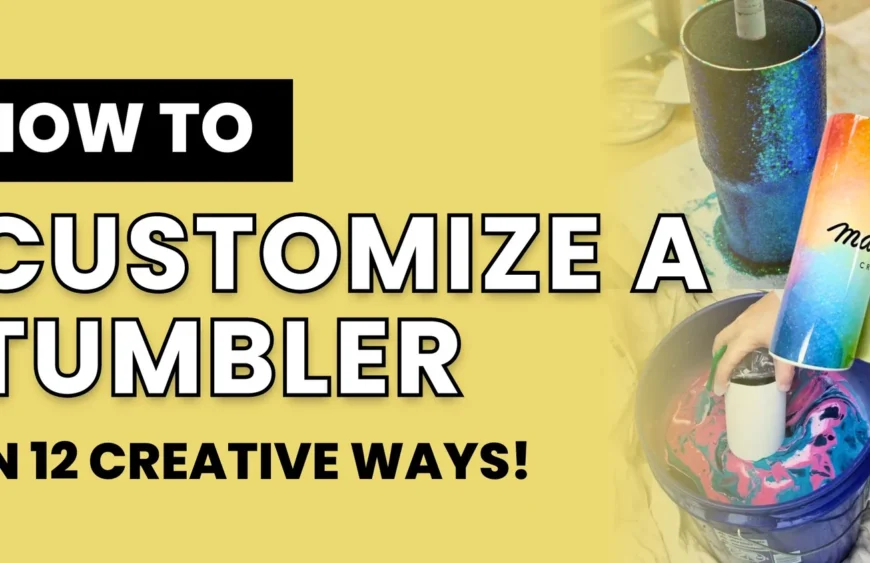
Keep reading to learn how to customize a tumbler with 11 different creative techniques plus 3 bonus ideas that take your creativity to the max ✨
What’s inside for Customize a Tumbler:
1-Epoxy Tumblers
2-Glitter Tumblers
3-Rhinestone Tumblers
4-Laser-Engraved Tumblers
5-Hydro-Dipped Tumblers
6-3D Tumbler Toppers
7-Etched Tumblers with Paint Stripper
8-Vinyl Decals
9-UV DTF Decals
10-Waterslide Decals
11-Sublimation Tumblers
12-Putting It All Together
Note: This post contains affiliate links, which means that we may receive a commission if you make a purchase using third-party links.
First up is sublimation!
#1 – Sublimation Tumblers
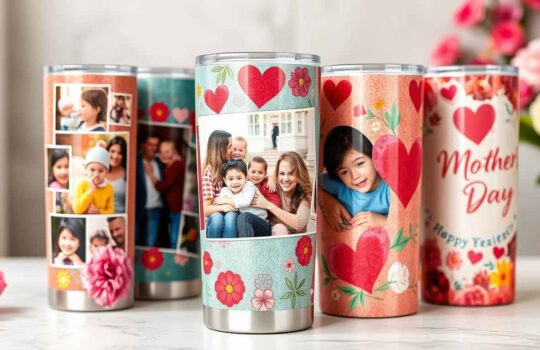
If you want to create stunning tumblers in the easiest way possible, we recommend trying sublimation first.
Here’s how it works:
-Print out your design using a sublimation printer, sublimation paper, and sublimation ink
-Tape the paper, ink side down, onto your tumbler so it’s air-tight (use heat-resistant tape for this)
-Bake in a sublimation oven or press with a tumbler press until the ink transfers to the tumbler
-Peel off the paper and admire your design!
Why we love this method: The ink literally sinks into the surface of the tumbler, so there’s no peeling this off. It looks like it was printed directly onto the surface. And if you snag a glow-in-the-dark tumbler or glitter shimmer tumbler, you can create even more cool effects!
We LOVE sublimation, and we carry a ton of sublimation products in our shop.
Ready to get started? Read up on the basics with our beginner’s guide to sublimation, then learn how to make sublimation tumblers.
#2 – Epoxy Tumblers
Epoxy is a magical adhesive that you can paint over tumblers or pour into molds to create long-lasting DIY items. Mix in some dyes and glitter, and you can create some amazing coated tumblers with it!
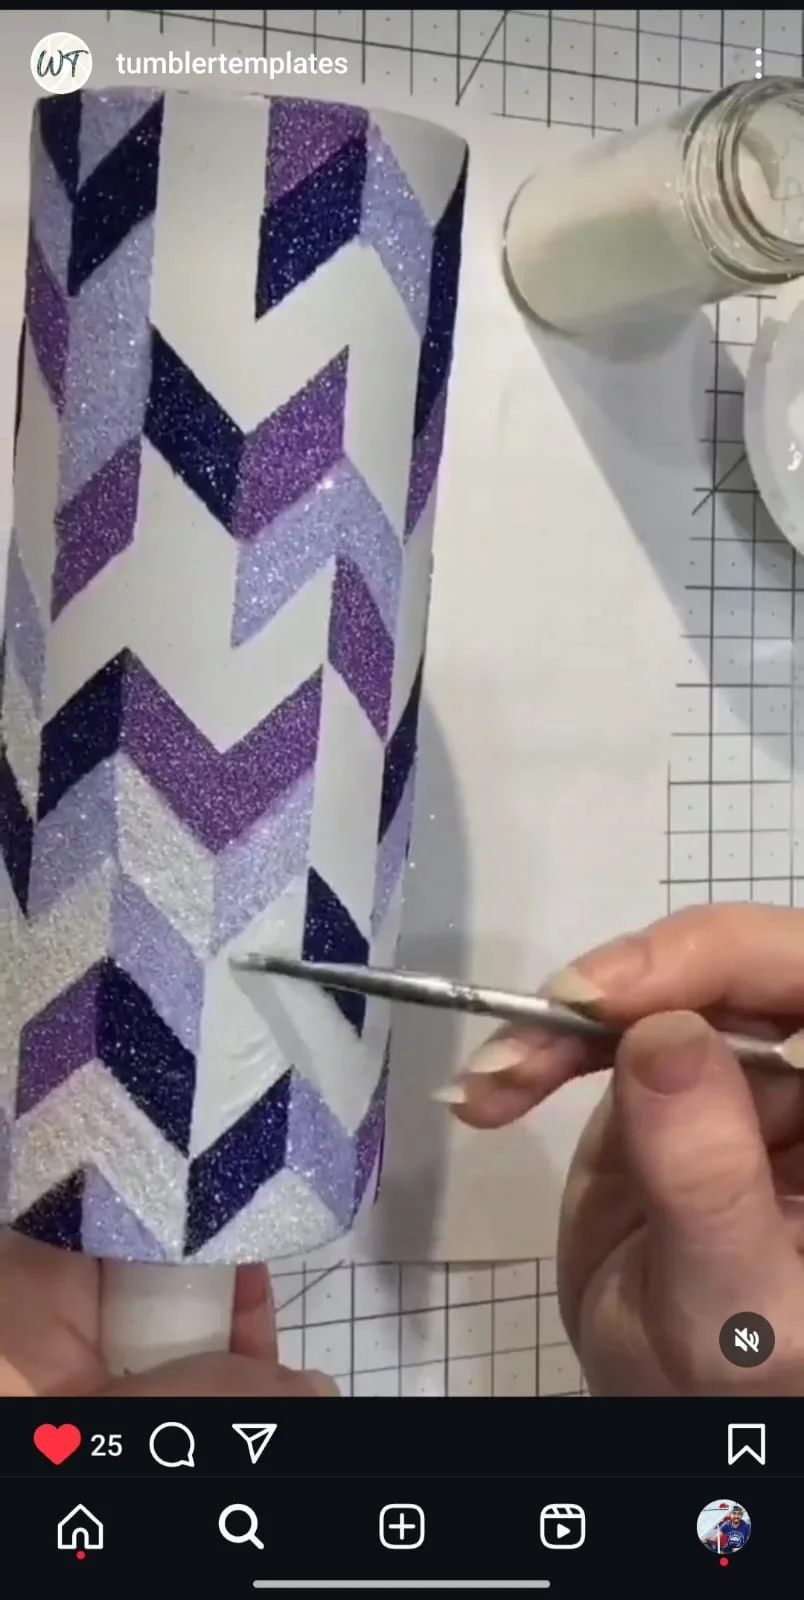
Like this epoxy tumbler by @tumblertemplates_ on Instagram:
Here’s how it works:
Get a pre-sanded tumbler or sand a stainless steel tumbler to begin.
In a silicone bowl or disposable clear plastic cup, mix Part A and Part B of your epoxy kit together according to the instructions to create the base material. (Do this right before using it, because you have a 15-minute window to shape it before it starts to harden.)
Decorate it with epoxy! Here are some ways to do that:
Glitter: Apply a clear coat of epoxy to a prepped tumbler, then shake glitter over it and cover with another coat. (See the next section for more on this.)
Drips or effects: Add dyes, glitter, or other mixins and then apply to the tumbler to create cool effects. Some people create a cool dripping effect from the top of the tumbler, for example.
Seal other designs: Use epoxy to coat a tumbler you’ve already customized with paint, vinyl, collages, or other methods.
Why we love this method: You feel like a mad scientist who can create anything you can dream of. Plus, good epoxy brands are FDA-approved for eating and drinking, which makes this a perfect material for tumblers.
Ready to get started? Study up on how to use epoxy resin to get an idea of the cool things you can create. And read #3 on this list to see how to make a glitter tumbler!
#3 – Glitter Tumblers
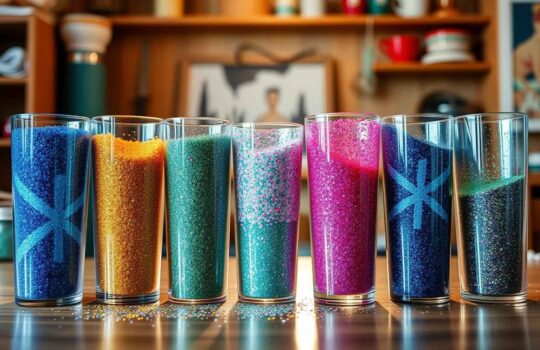
Glitter tumblers are a type of epoxy tumbler (see #2), but these are so popular they deserve their own category. Basically, you use epoxy and glitter to make a bright and blingy tumbler that’s ready to steal the show ✨
Here’s how it works:
- Start by priming the tumbler with some spray paint in white or a color similar to your glitter
- Coat the tumbler with a layer of epoxy
- Sprinkle glitter evenly across the epoxy layer, rotating the tumbler as you go
- Finish with another layer of epoxy to seal it
- Sand it until it shines!
Why we love this method: Glitter is fun! And while this method is a bit messy, it’s still one of the easiest to do well.
Ready to get started? Learn about epoxy resin, find out how to make a glitter tumbler, read up on our glitter types, and shop our epoxy items!
These tumblers aren’t that difficult to make, but they really turn heads! We stock tons of dyes and glitter in our shop, plus epoxy and tumblers to help you create whatever your heart desires.
#4 – Rhinestone Tumblers
If you were one of those kids who enjoyed lining up your pencils on your desk with perfection or rearranging your room, you might love this crafting method.
You bling out a tumbler with little rhinestones in a neat pattern from top to bottom. It’s a rhinestone tumbler–like a glitter tumbler but decked out with jewels!
#5 – Laser Engraved Tumblers
The last four methods focused on adding things TO the tumbler to make it crafty. But this method is all about taking things AWAY from the tumbler to reveal a cool, etched design.
All you need to laser engrave your tumbler is a laser engraver and a digital design. It’s as easy as pressing a button, and the laser burns the image into the surface.
Here’s how it works:
1-Place the tumbler onto the workspace of the laser engraver
2-Load your design into the machine
3-Position the cup exactly where you want the laser to fire
4-Press the start button to engrave
The kind of metal you can engrave (and the effect you can create) depends on the type of laser you use.
The xTool F1 can mark metal and remove the coating from powder-coated tumblers, including brand names like Stanley and Owala. The xTool F1 Ultra, with its fiber laser, can actually engrave into the metal tumbler instead of just marking it. Find out which machine is better for you with our comparison guide.
Why we love this method: You get pixel-perfect designs that won’t scratch off or fade with time.
#6 – Hydro Dipped Tumblers
If you’re looking for a groovy, colorful look or want to make one-of-a-kind tumblers you can’t get anywhere else, check out the hydro dip method!
Here’s how it works:
1-Prime a tumbler with paint (or choose a powder-coated tumbler, preferably white!)
2-Drop marbling paints into water and swirl them
3-Dip the tumbler inside the swirls of paint to dye it
4-Pull it out and let it dry
5-Coat it with epoxy to seal it in
Why we love this method: It’s pretty affordable, and it makes this awesome swirly pattern that is really hard to recreate with any other method.
Ready to get started? We’ve written a whole post about how to hydro dip a cup and the best paint for hydro dipping.
Before you get started, pick up a pack of Powder-Coated Tumblers to get up and running quickly.
#7 – 3D Tumbler Toppers
This one’s a little bit different. Instead of personalizing the tumbler itself, you get to customize the lid!
hat’s right. Using some UV resin, glitter, dyes, and optional 3D objects, you can create eye-catching tumbler toppers to finish off your DIY creation. Many crafters make something that looks like ice or whipped cream to mimic an actual drink you might make.
Again, we’ll let an expert share her technique for creating the perfect topper. Here’s Sharena Latrese from YouTube with a beginner-friendly tutorial:
We stock items like faux crushed ice, faux citrus slices, and UV resin in our shop that can be used to create toppers like these. What will YOU create?
#8 – Etched Tumblers with a Paint Stripper
This method creates a laser-etched effect without actually needing a laser!
Yes, it’s super cool and can save you some bucks if you’re not ready to invest in an engraving machine just yet. It won’t get you the same precision as a laser, but it’s pretty close.
You’ll need a stencil vinyl sheet, a Cricut machine or cutting utensil, some painter’s tape, and a paint stripper like Citristrip.
#9 – Vinyl Decals
Our last 3 ideas on the list are types of decals you can use to create permanent DIY designs on your tumblers.
The first is vinyl. You can buy vinyl sheets, then cut them with a Cricut cutting machine or other cutting utensil into the shapes you want. These could be names, quotes, or fun shapes.
Vinyl is great because you can apply it to practically any hard surface, which includes tumblers and cups.
Usually, vinyl sheets come in solid colors, which means you’re limited to solid-color designs. But crafter My Krafty Life has a tutorial that shows you how to use printable vinyl to make your own designs.
#10 – UV DTF Decals
Did you know you can customize tumblers with DTF decals? This isn’t the DTF printing you use for shirts and garments, but another type called UV DTF. This stuff sticks like superglue to any hard surface, almost like it was printed on the cup directly.
The downside with this method is that it’s hard to print these decals at home, but you can buy pre-printed decals from DTF transfer shops. If you want more control over the design, you’ll need to invest in a DTF printer setup or try another method like waterslide decals (#11).
#11 – Waterslide Decals
This is the OG method of tumbler customization! The best part is, you can use a regular inkjet printer to make these decals.
You’ll need some waterslide paper, an acrylic sealer spray, and some water! Print your designs on the waterslide paper, spray them with the sealer, cut them out, then soak them in water for a minute or so until the decal becomes easy to slide off the paper.
It’s so cool how the decal slides right off and sticks to the tumbler!
Final Thoughts
After hearing about all of these fun DIY methods, we can’t wait to try out some new tumbler techniques in our workshop!
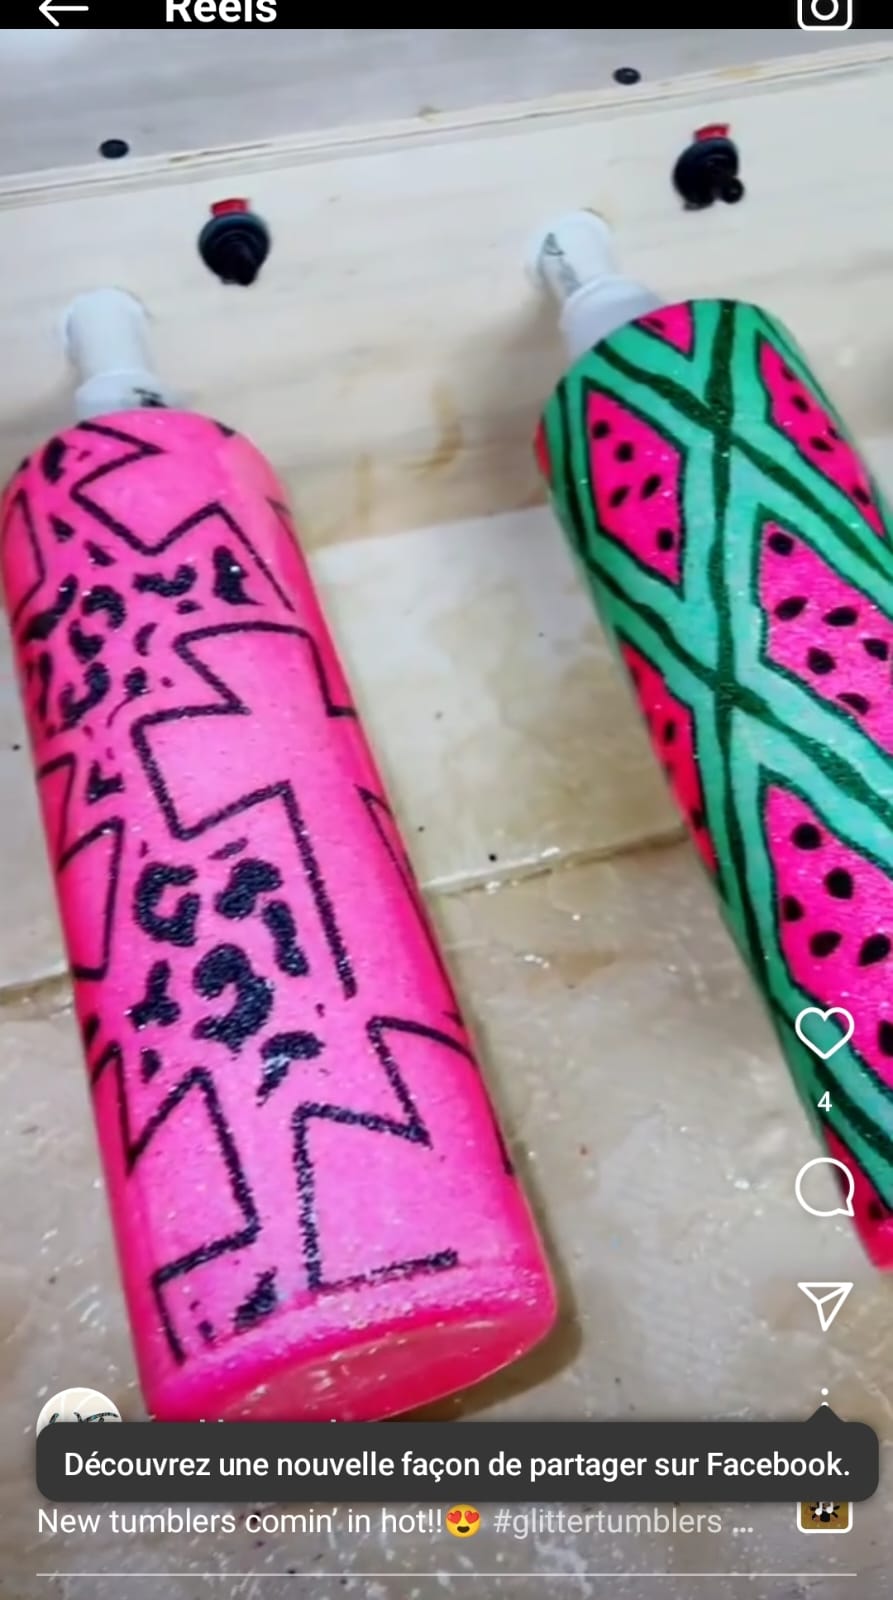
Just as we were finishing up this article, we found two more cool ideas on Instagram!
#12 – Putting It All Together!
You’re not limited to these options! All these methods play well together, which means you can combine them in new ways to push the limits of what’s possible with tumbler DIY.
Consider covering a sublimated tumbler with vinyl shapes, alternating stripes of rhinestones and glitter epoxy, making a 3D topper for a waterslide decal- wrapped cup, or adding a decal onto a laser-engraved tumbler. The possibilities are endless!
How about you? Which idea are you excited to try? Let us know your thoughts in the comments below, or chat with us in our Official Welovetumbler Facebook Community. We’ll see you there!
Psst … wondering how to take care of your DIY tumblers once they’re done? The key is to be gentle, but these tips for taking care of a sublimated tumbler will show you how.
By the way, make sure to join our mailing list to get all of our latest deals on tumblers, equipment, and supplies and to get first dibs on restocks and brand-new product releases! (We are releasing new stuff all the time!) Sign up below to get access 💌
